Back to service-section
The conversion of modern Yongnuo flashes for use in the double collector
02.03.2024
The double collector is a proven component for inserting an electron flash into the optical illumination beam path of a microscope. Zeiss has produced various versions of the double collector, and Jürgen Stahlschmidt / Hagen has finally reproduced this component for many microscopists in order to serve other microscope makes as well.
In the meantime, many of the originally frequently used analogue flash units from Metz, in particular the type 32 CT 3, are failing due to age and can no longer be replaced with the identical type, because even these units, which can certainly be obtained second-hand, are often technically defective.
The company Yongnuo offers ideally suited units for this purpose. The flashes must be controlled manually, devices with TTL or ETTL automatic are less suitable for this, as there is almost always additional work to be done on the flash, which ultimately does not lead to reliable use of the automatic.
Manual control of the flash intensity can also be easily achieved when the flash is installed and is realised via small buttons. As the Yongnuo units can also be controlled by radio, the intensity can alternatively be set using the YN560-TX transmitter, which is then attached to the camera's hot shoe.
The flash must be dismantled for use in the double collector. Extreme caution is important here, as high voltages are present in the flash capacitor. Of course, this also voids the warranty for the device.
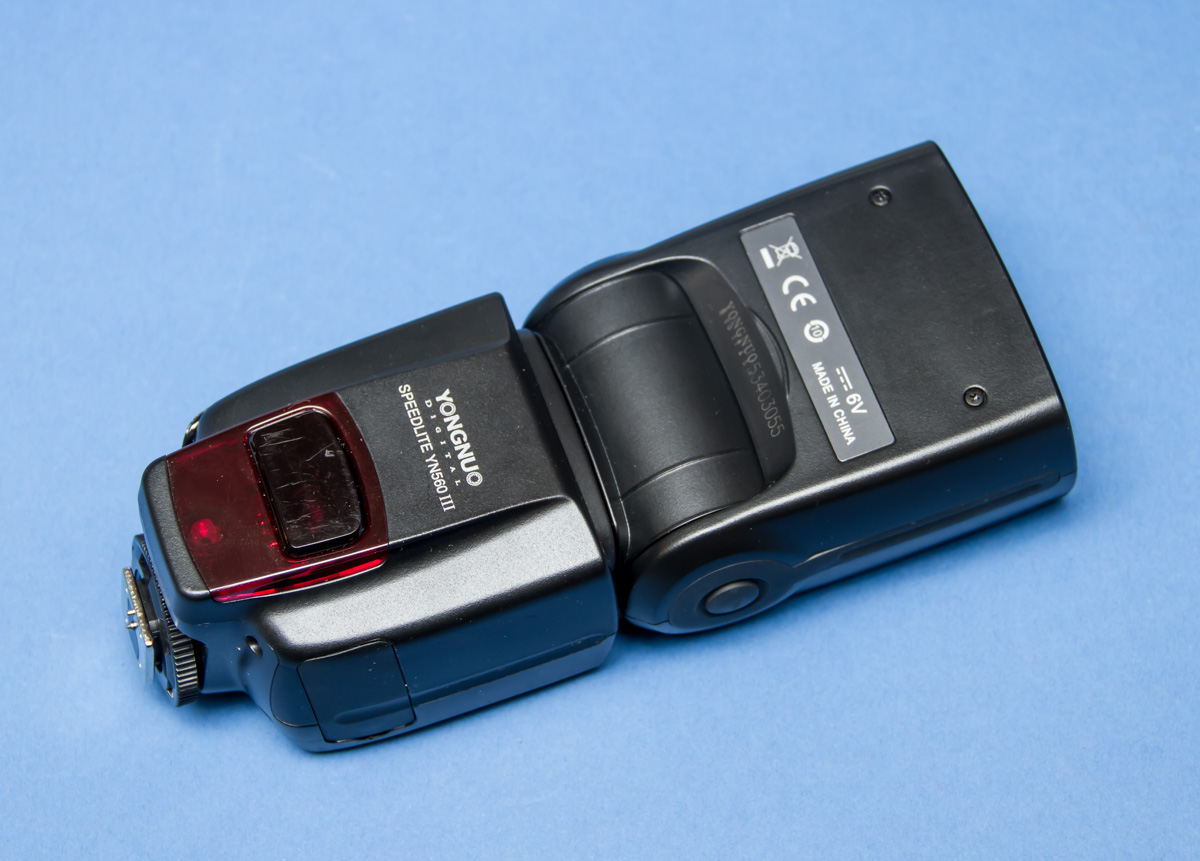
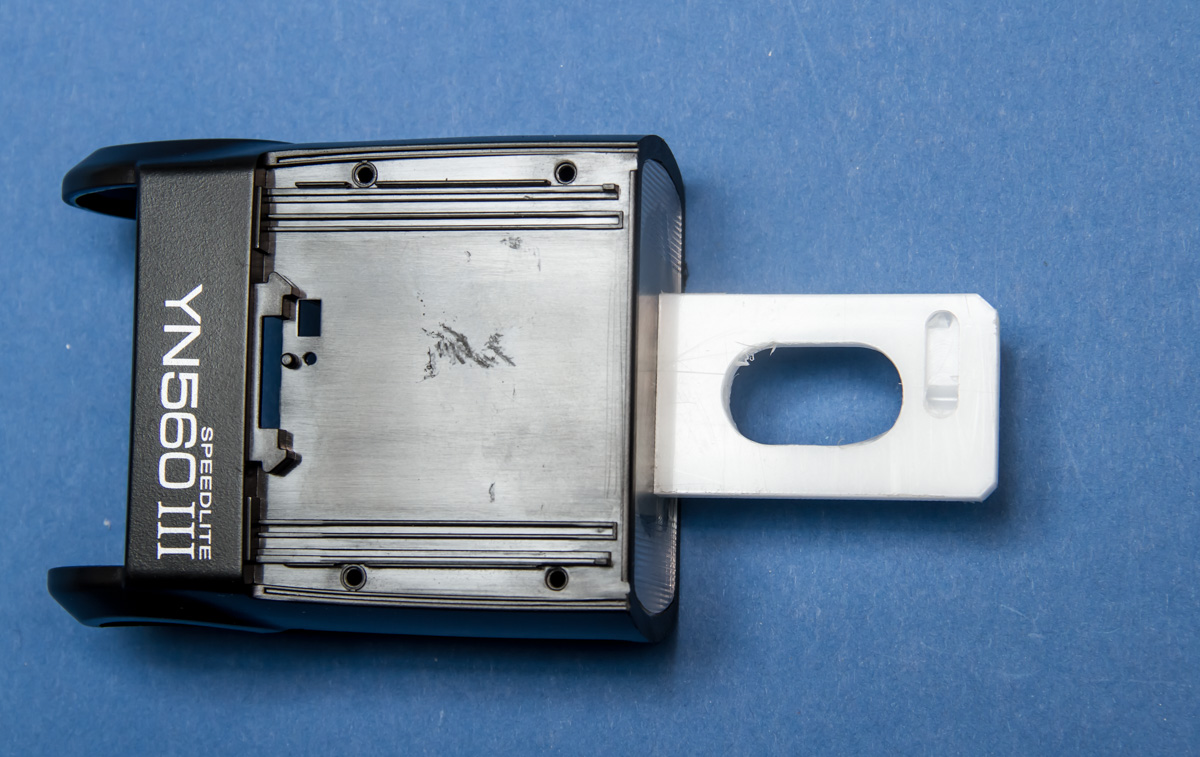
Raw flash Yangnou YN560 III
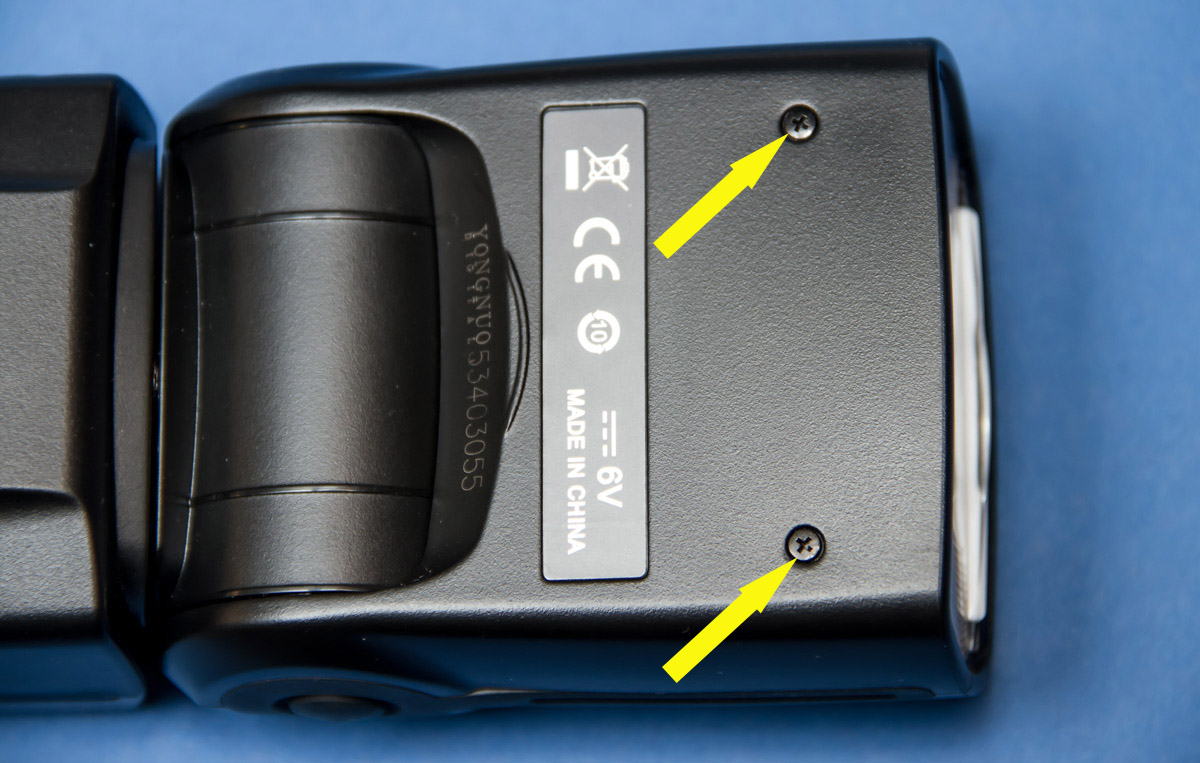
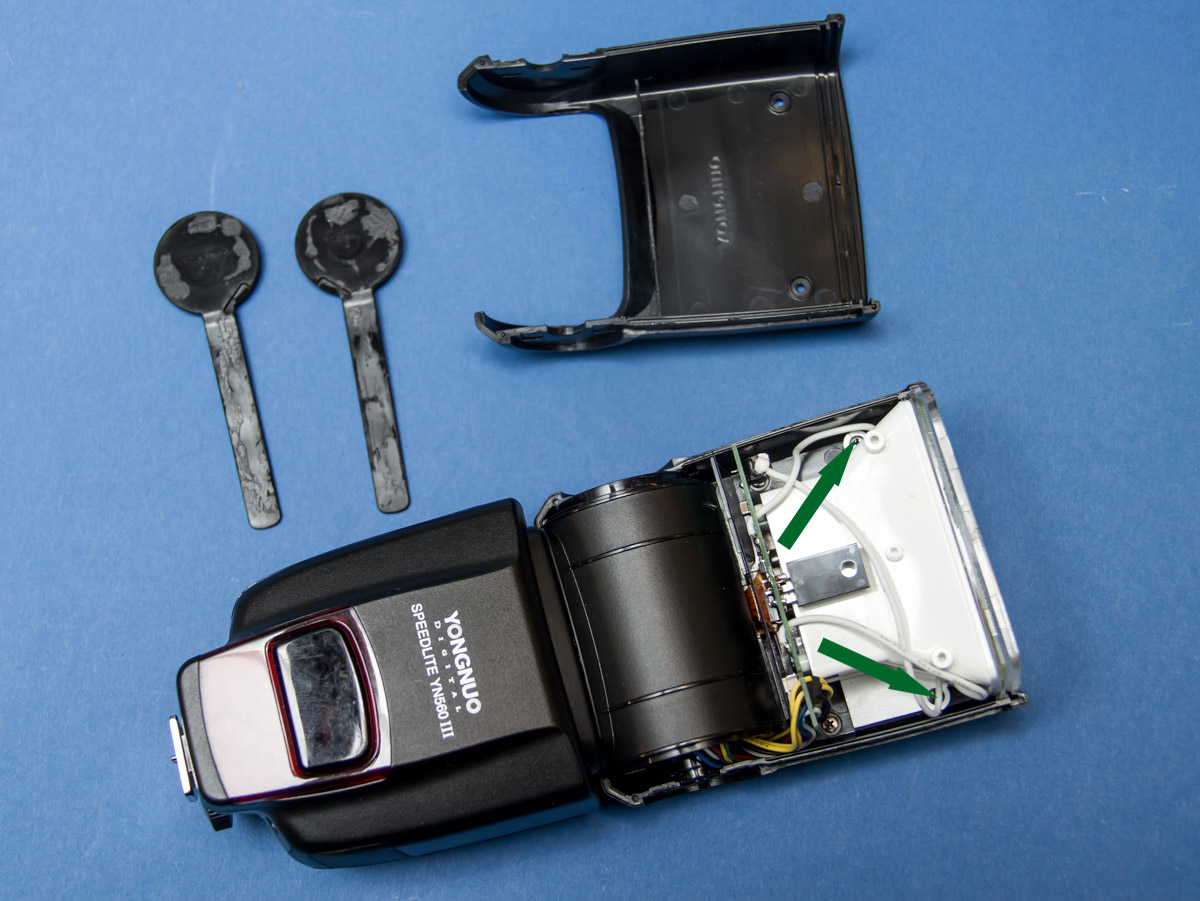
First remove the marked screws to dismantle the upper flash housing.
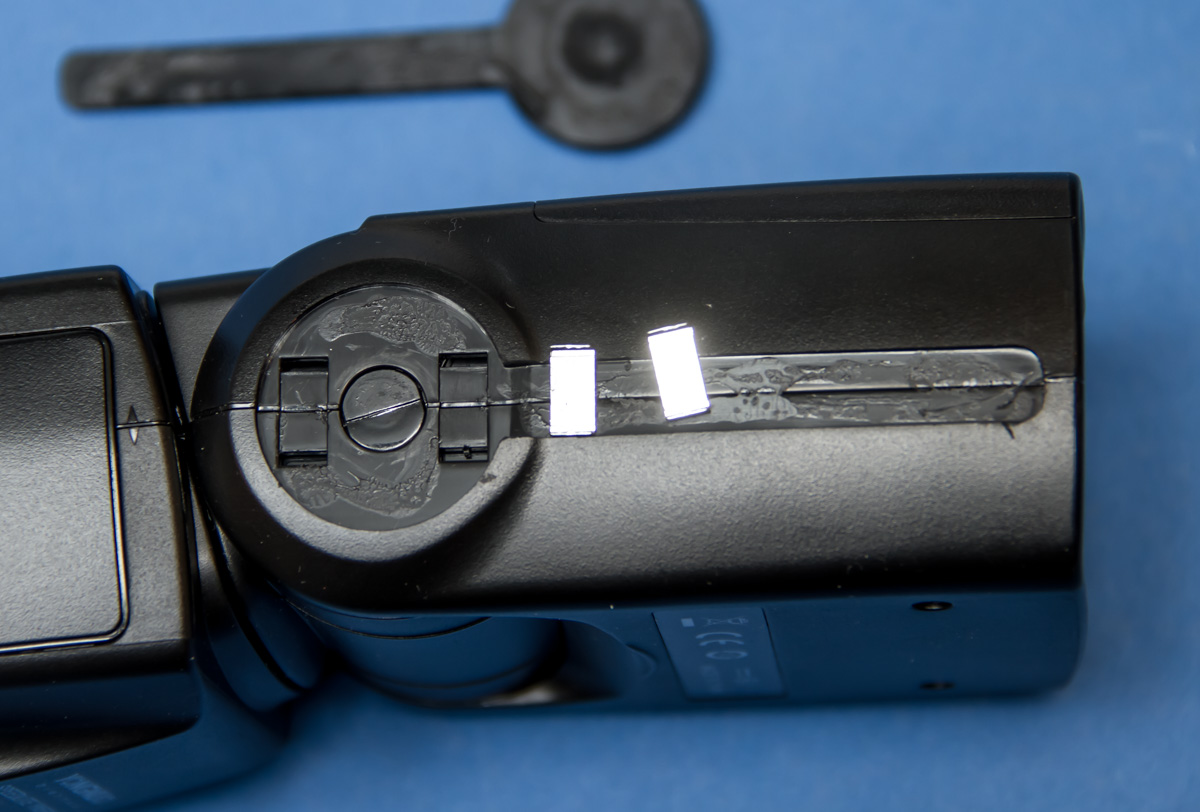
The rubberised masking tape is lifted and removed with a knife.
The two metal clips on each side are removed.
The housing shells can now be folded open.
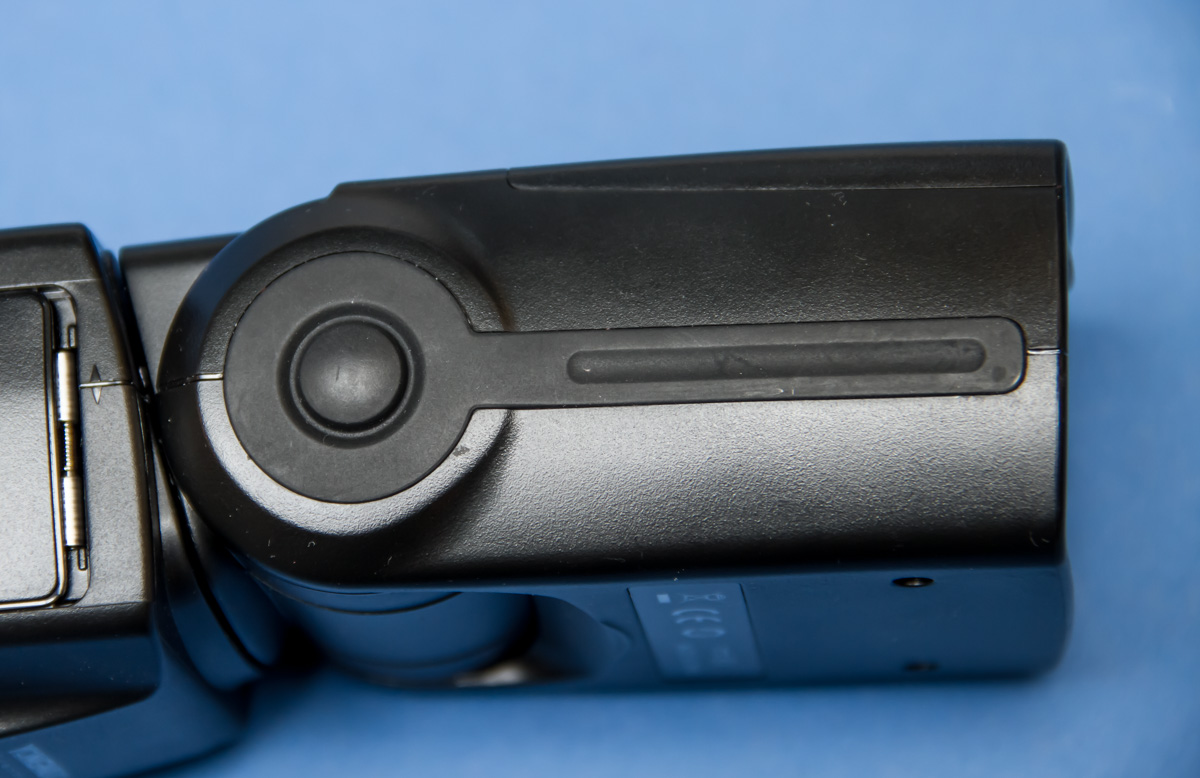
Now remove the flash reflector and loosen the marked screws.
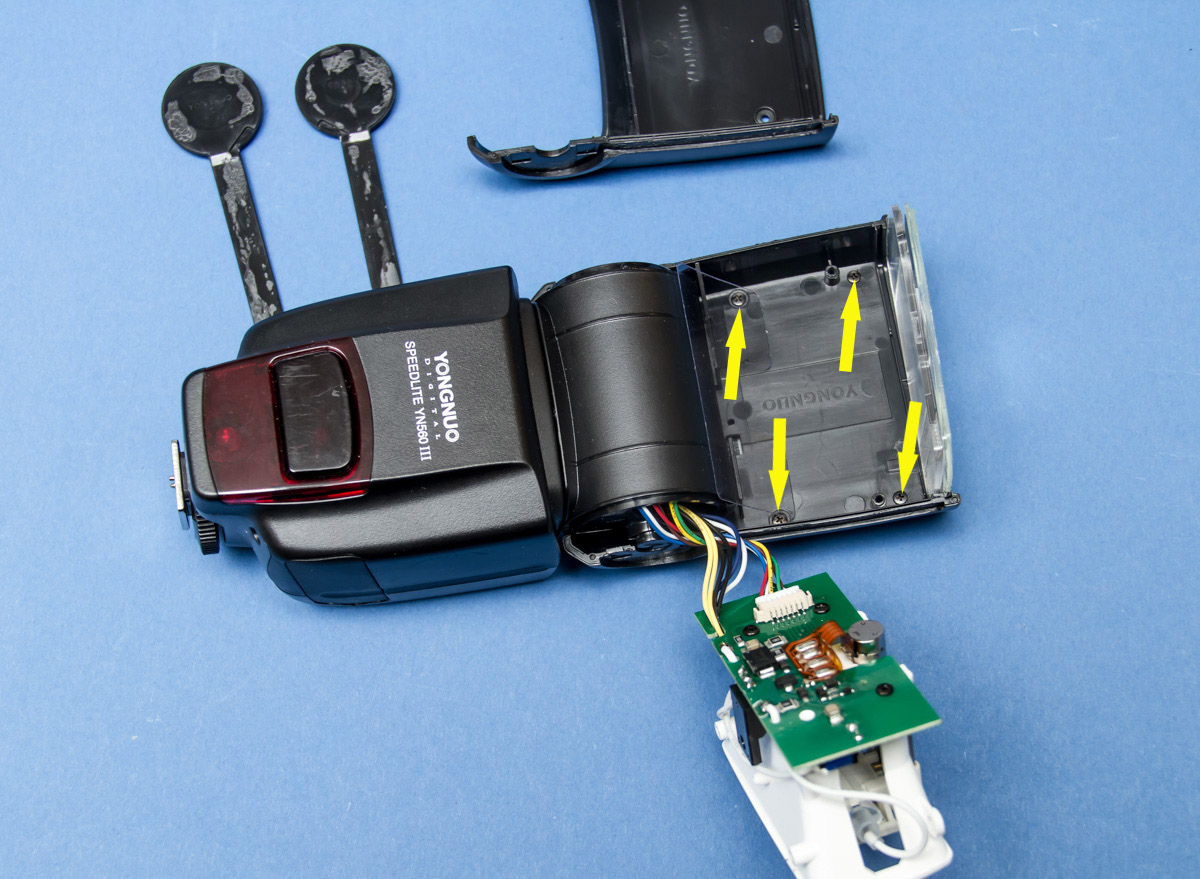
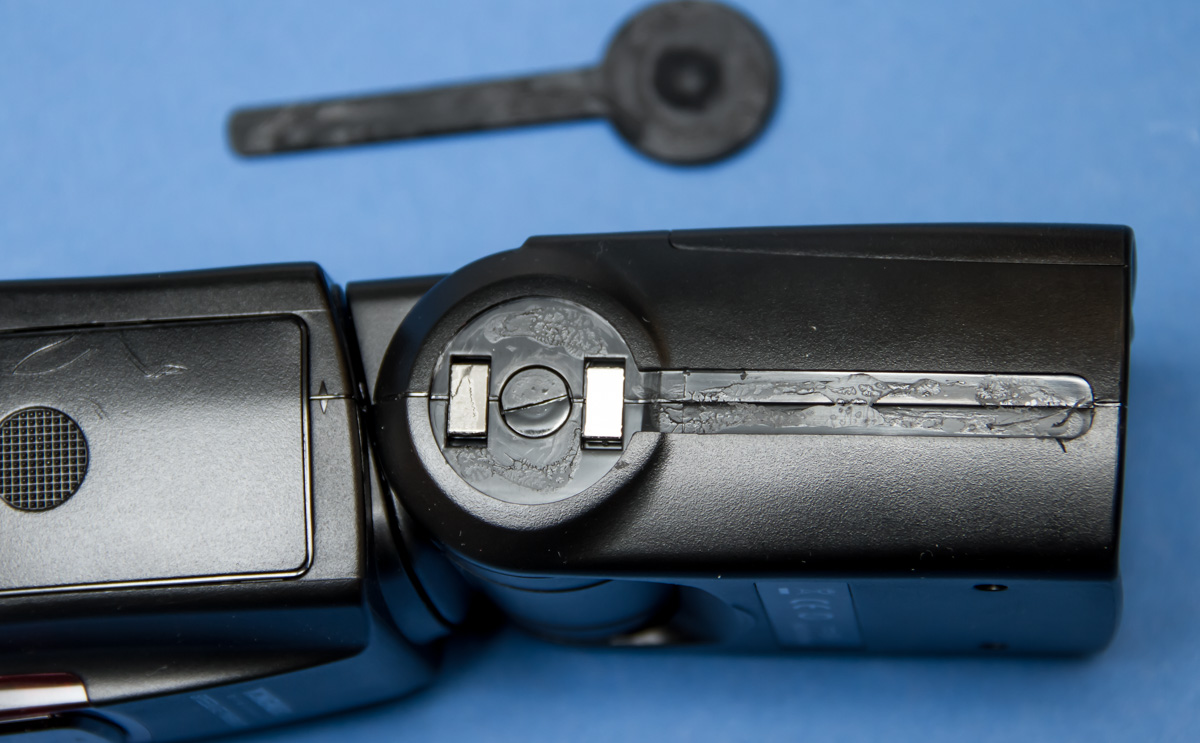
The fold-out diffusers on the top of the flash housing must also be removed, otherwise the flash head is too wide and will not fit into the double collector. To do this, please loosen the marked screws.
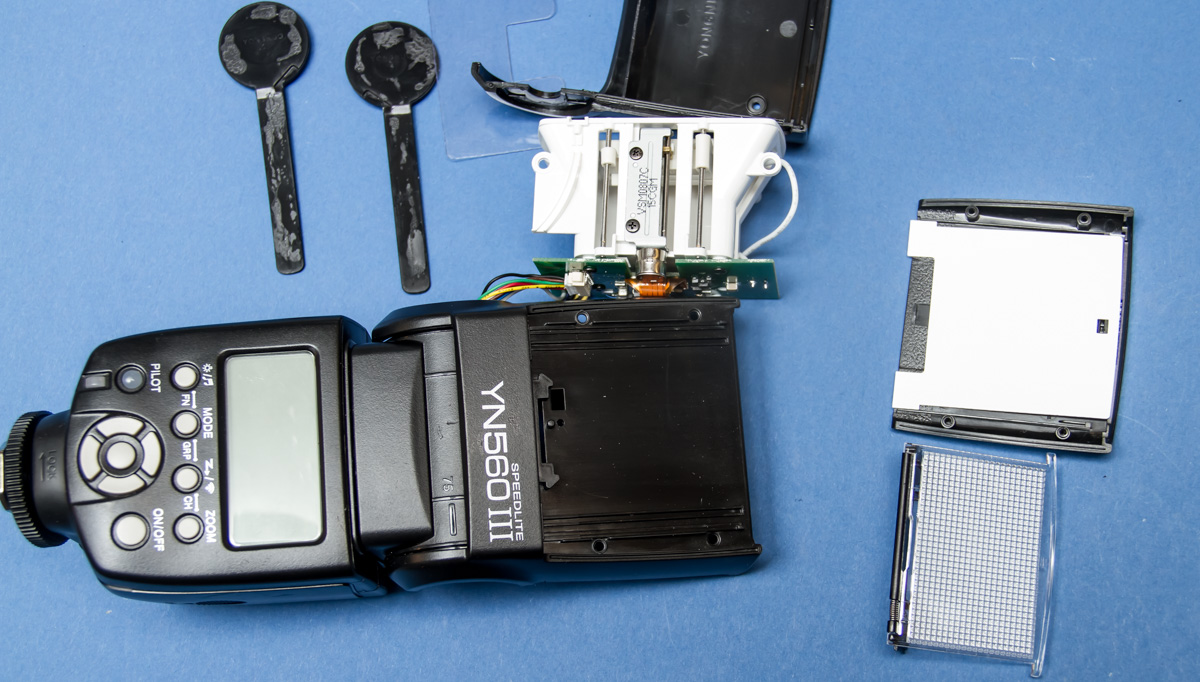
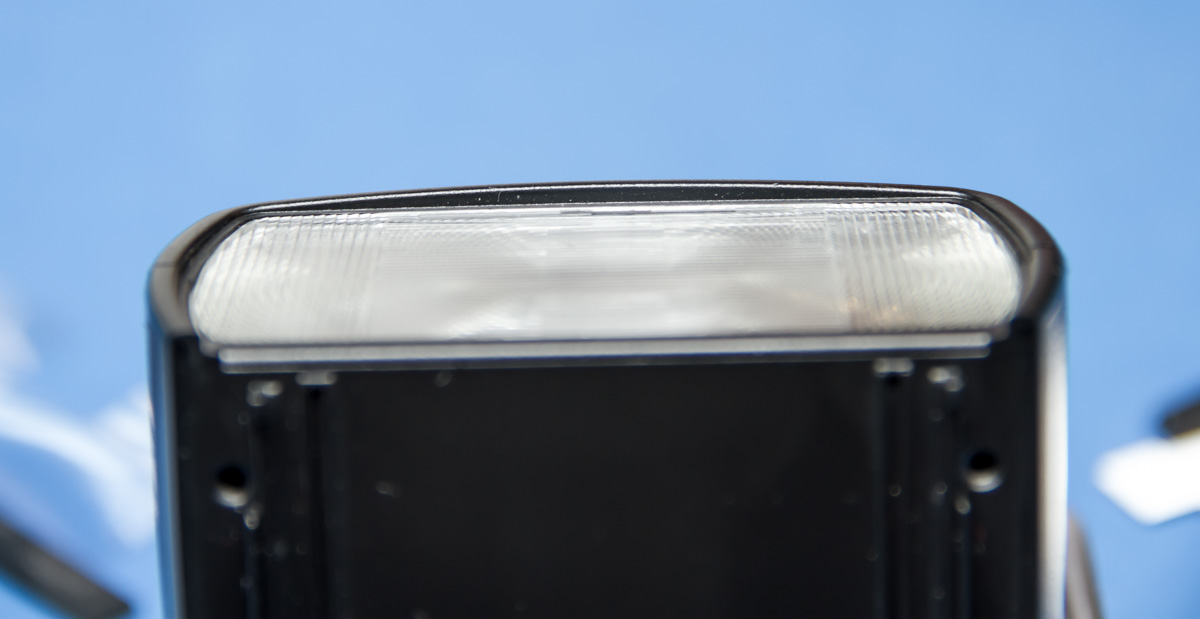
Flash housing with diffuser removed.
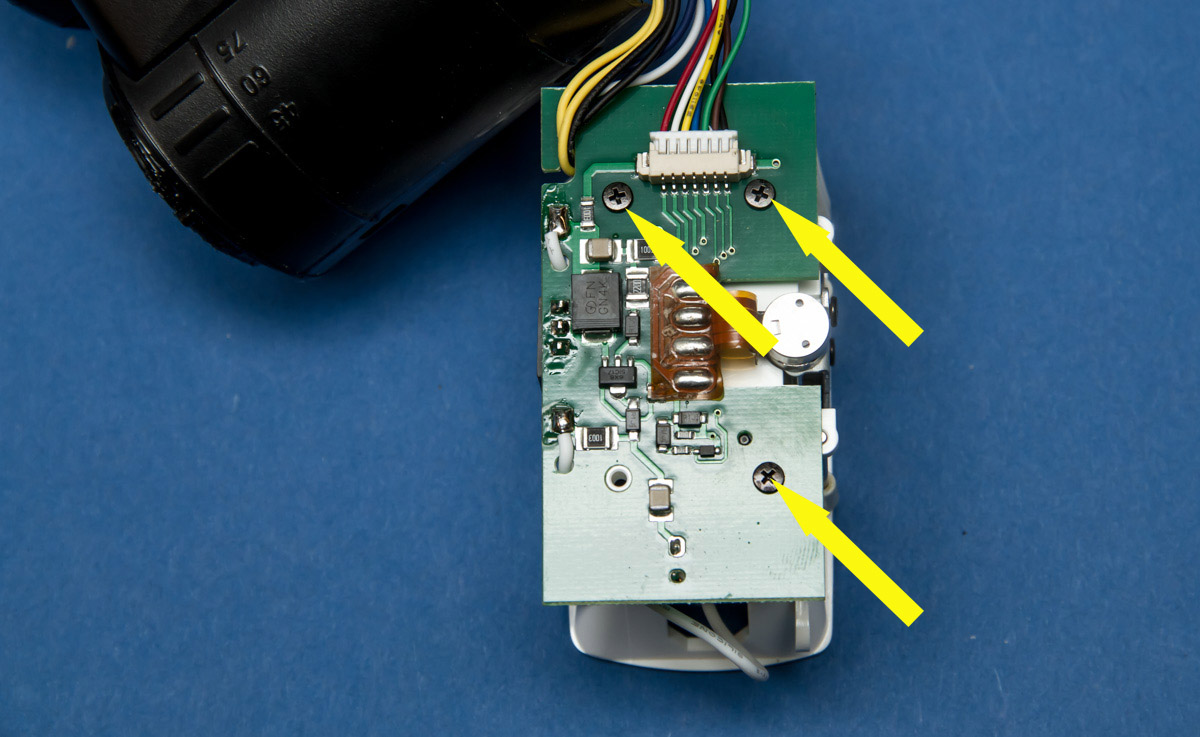
To be able to remove the flash tube, the mechanism for the zoom must first be dismantled. The 3 screws are loosened...
... the small circuit board lifted off....
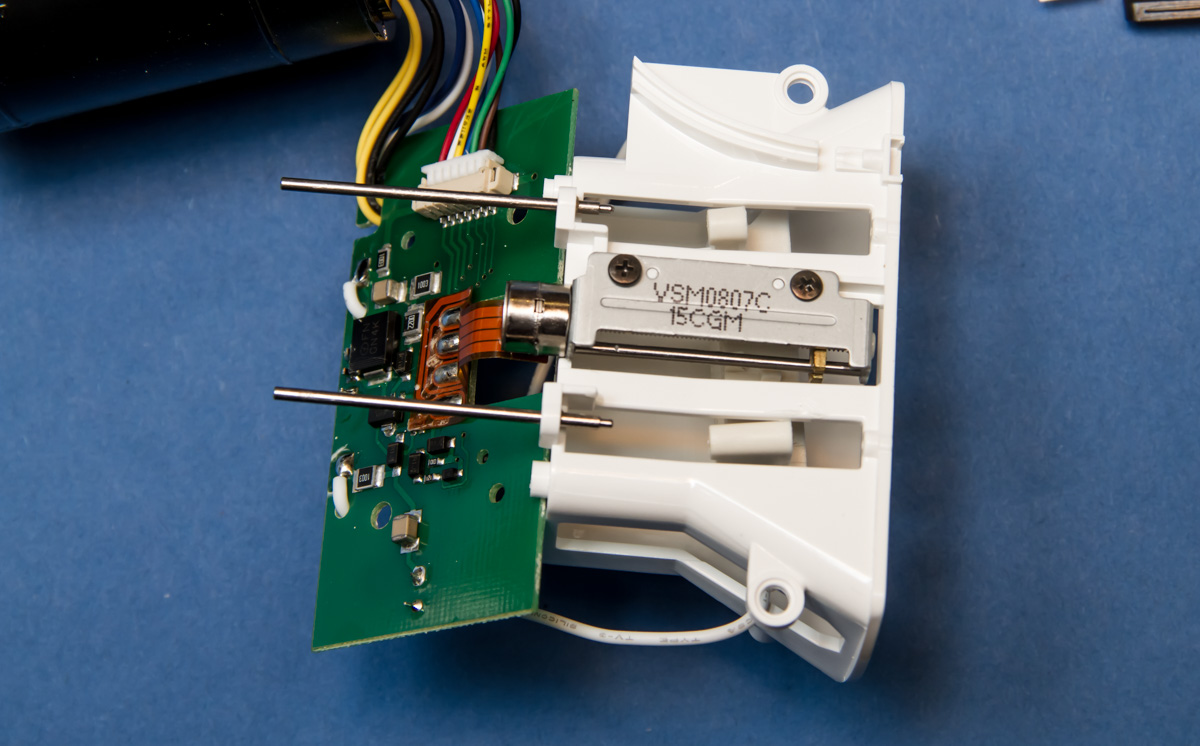
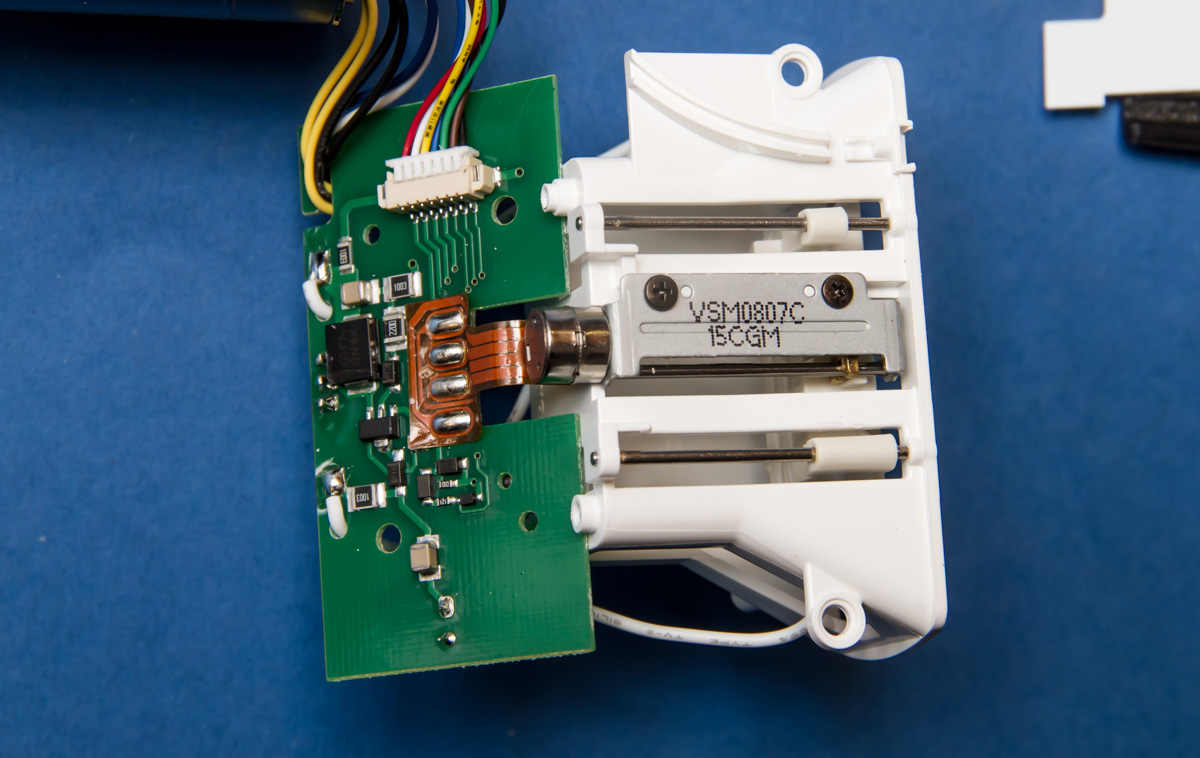
... and the guide pins for the zoom adjustment are pulled until the support for the flash tube is free. The guide pins are refitted and the circuit board is secured with the 3 screws.
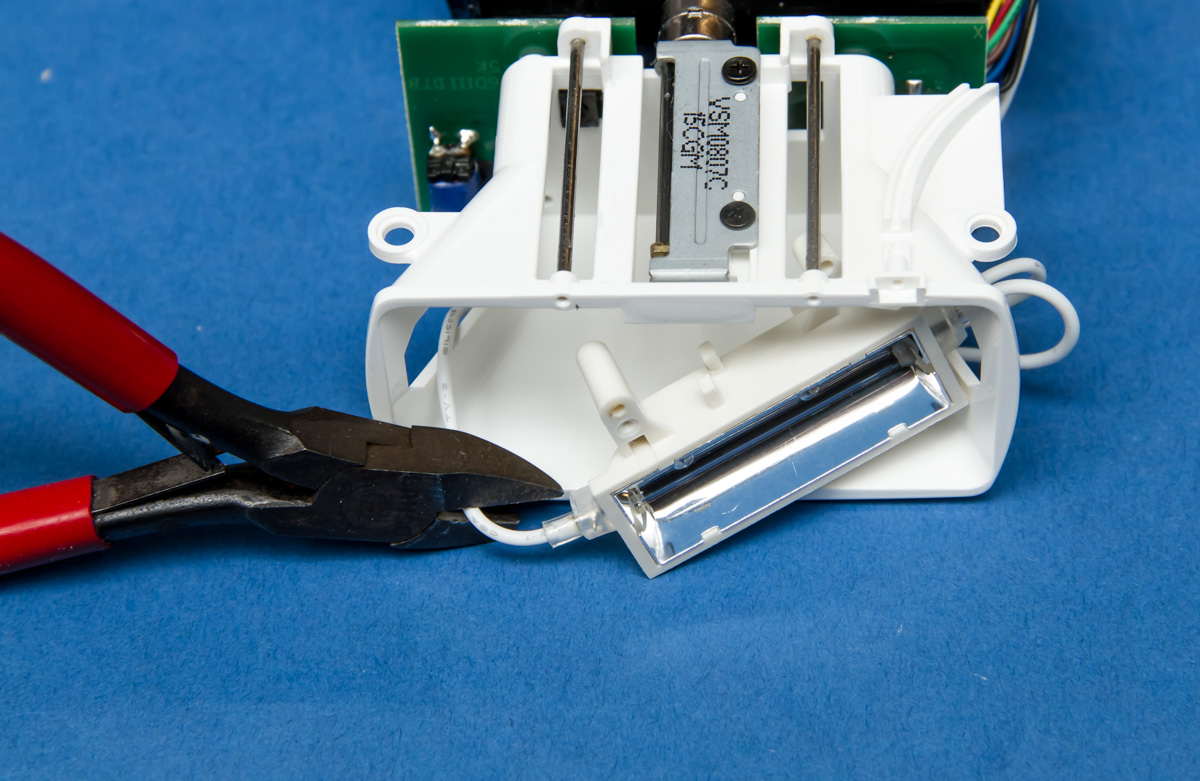
The flash tube cable can now be cut. This is done on the side of the tube where only 1 cable arrives.
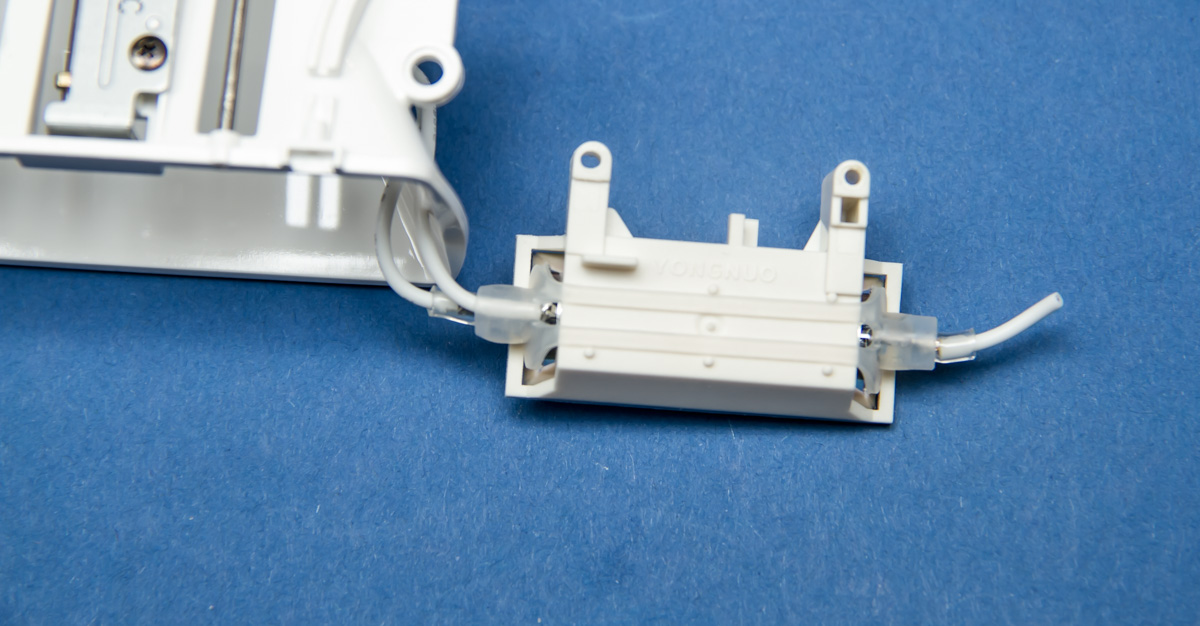
The transparent protection of the tube is now carefully removed....
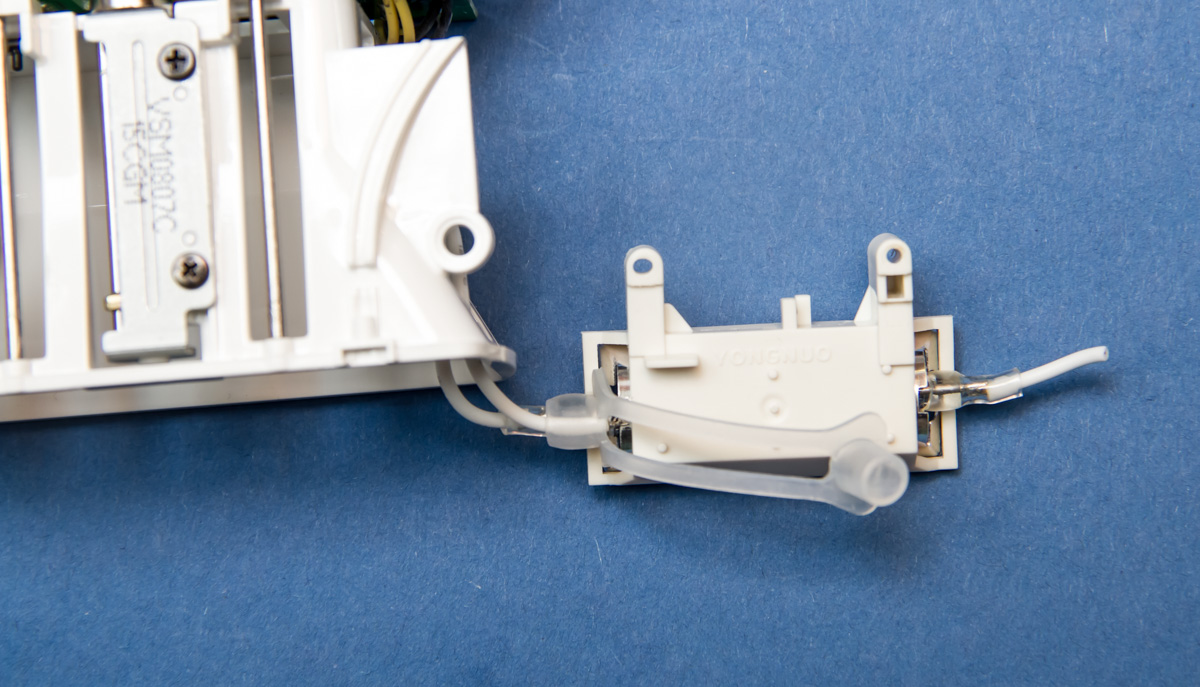
...and carefully pulled the tube out of the holder...
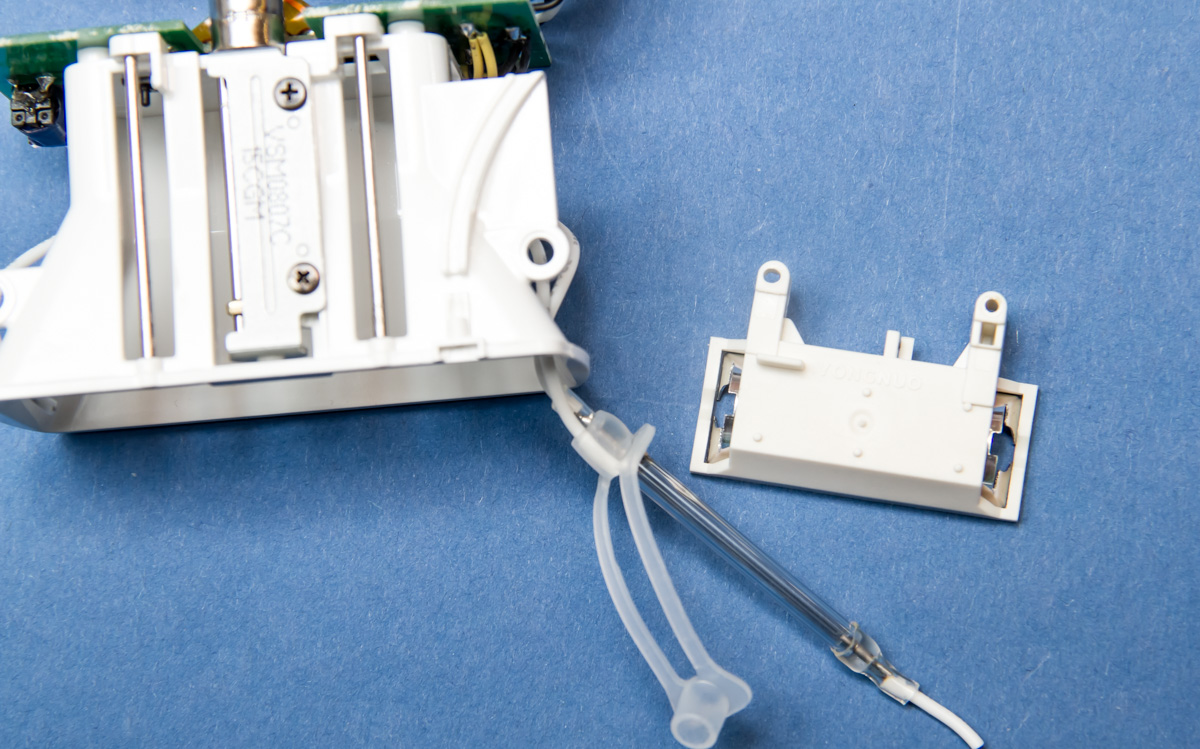
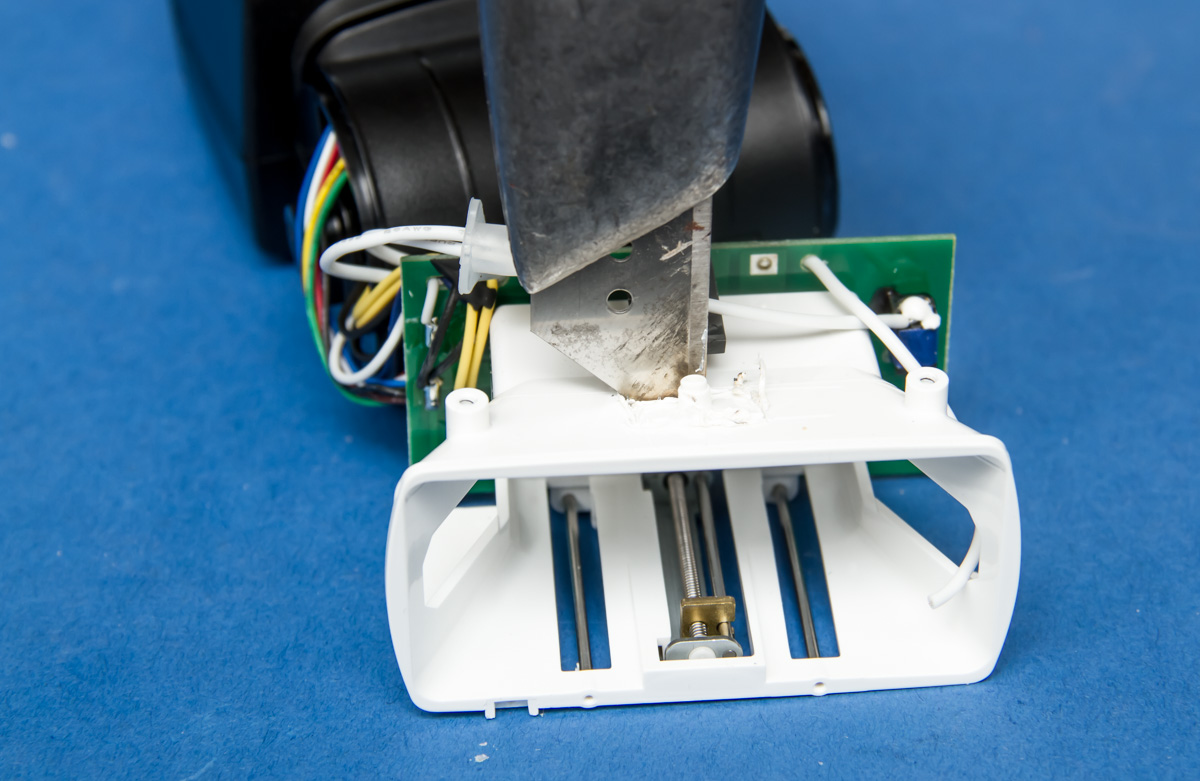
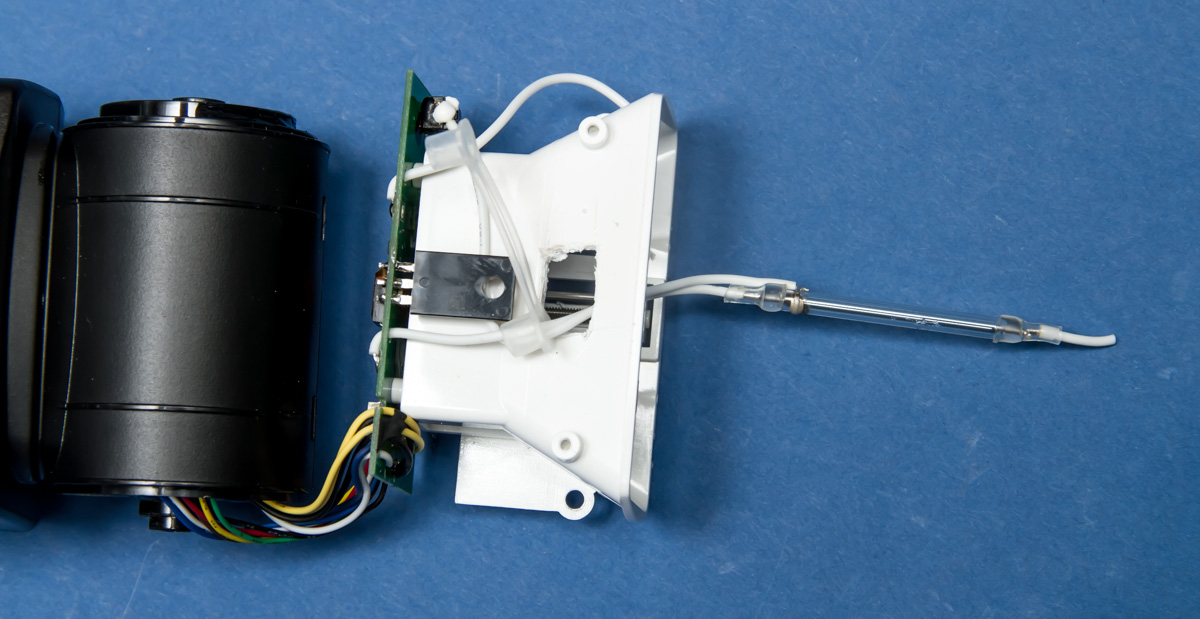
To ensure that the cable length is sufficient for the new position of the flash tube, an opening must be made in the reflector housing so that the cable now has access from above instead of from the side. The best way to do this is with a heated knife blade...
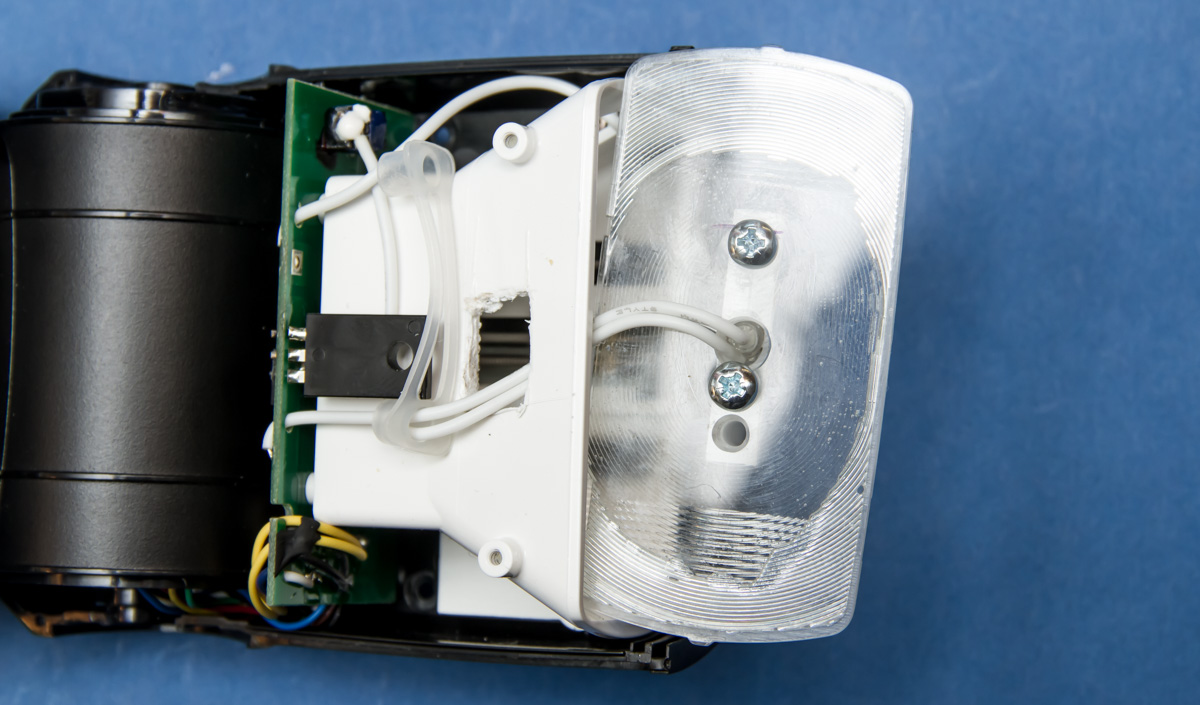
Now the tube fits well in its new position:
The housing can now be modified for assembly:
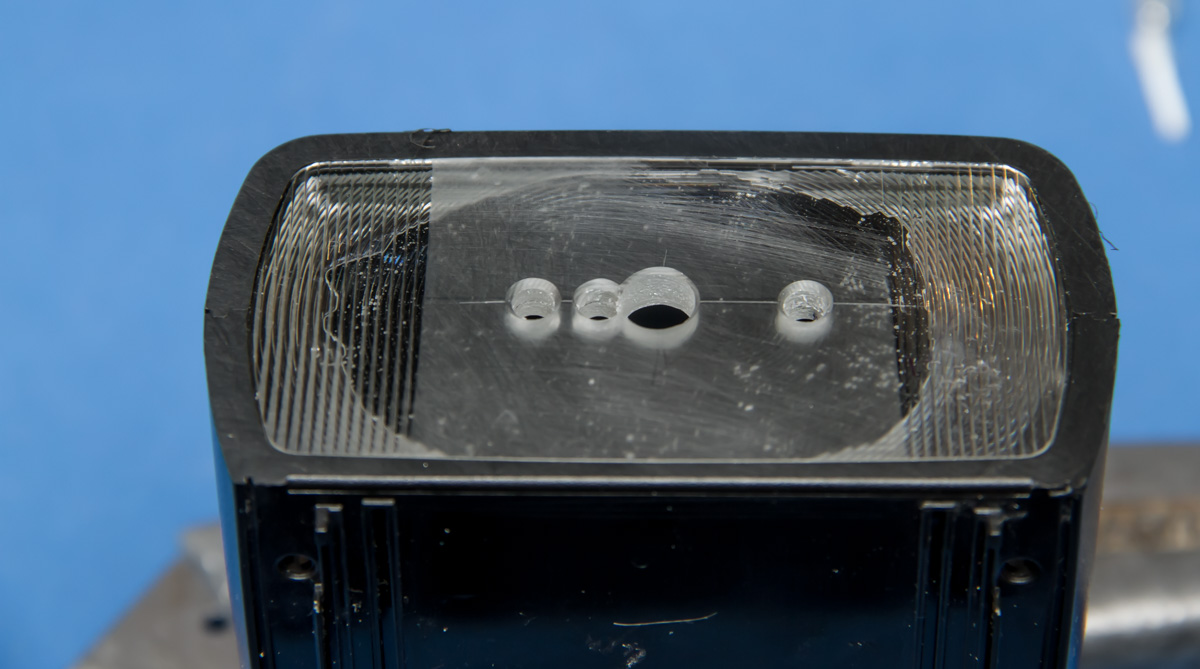
The housing protrusions on the top and sides are sanded off...

...so that they are flush with the diffuser disc. Only in this state the flash tongue fits correctly into the double collector:
Both diffuser discs are glued together....
... and receive the holes for fastening the flash tongue...
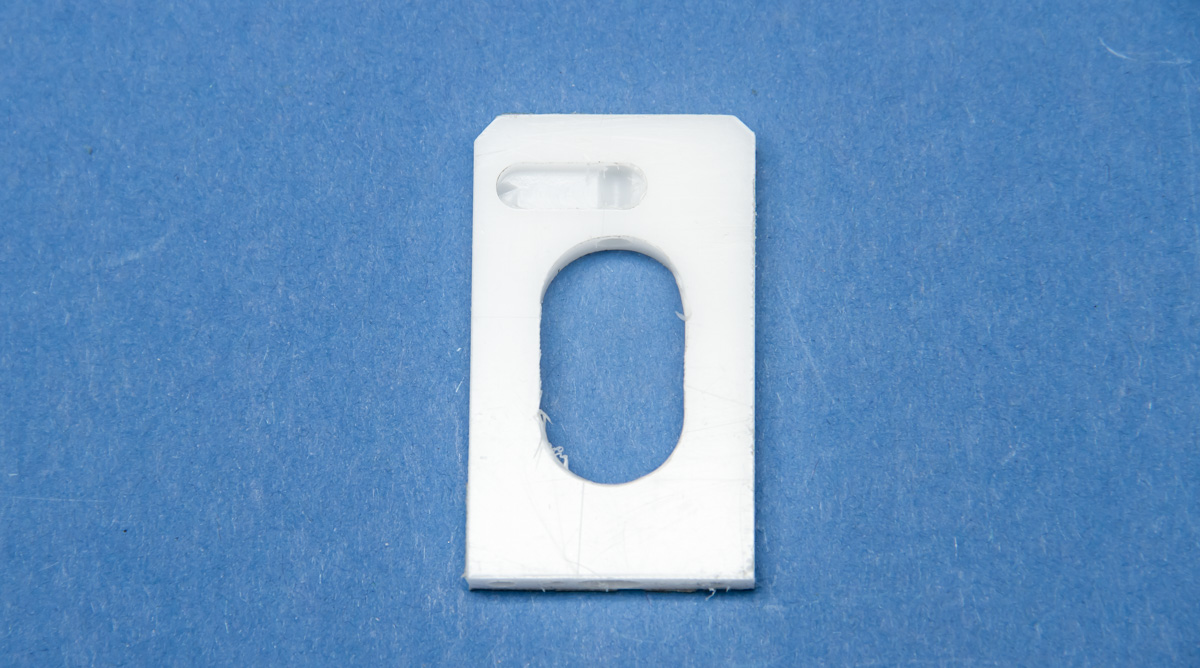
..., assembled the whole thing looks like this :
Now the flash tube can be inserted...
... Here in the view from the inside....
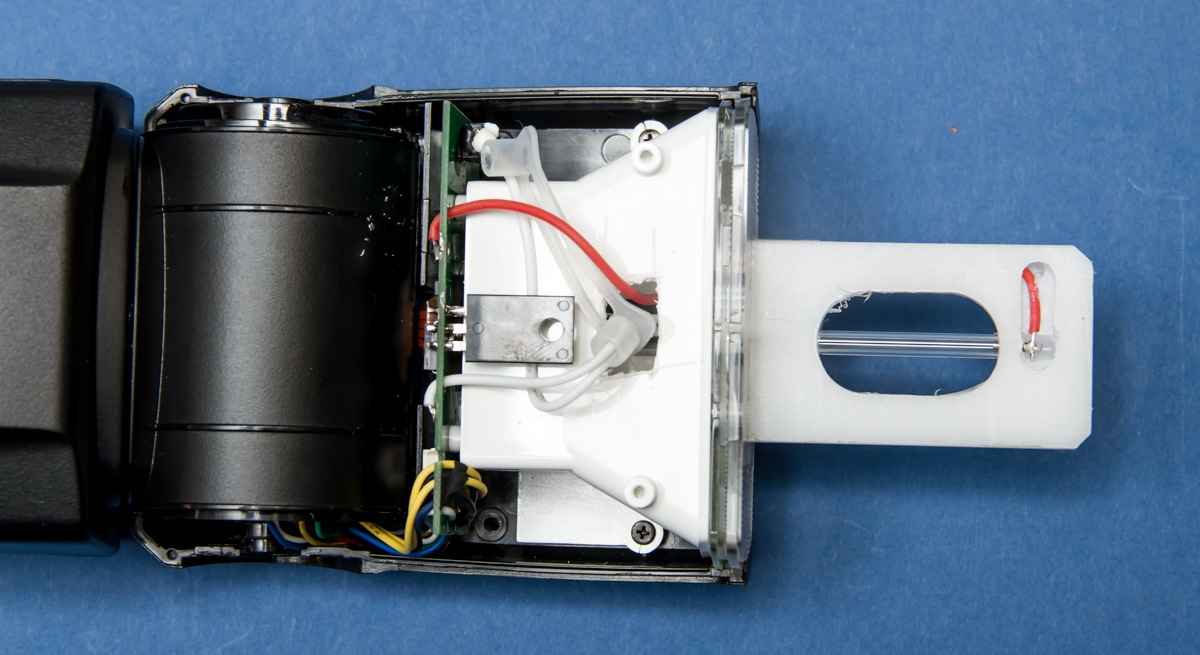
... and finally the separated cable of the flash tube is reconnected, here with a red cable...
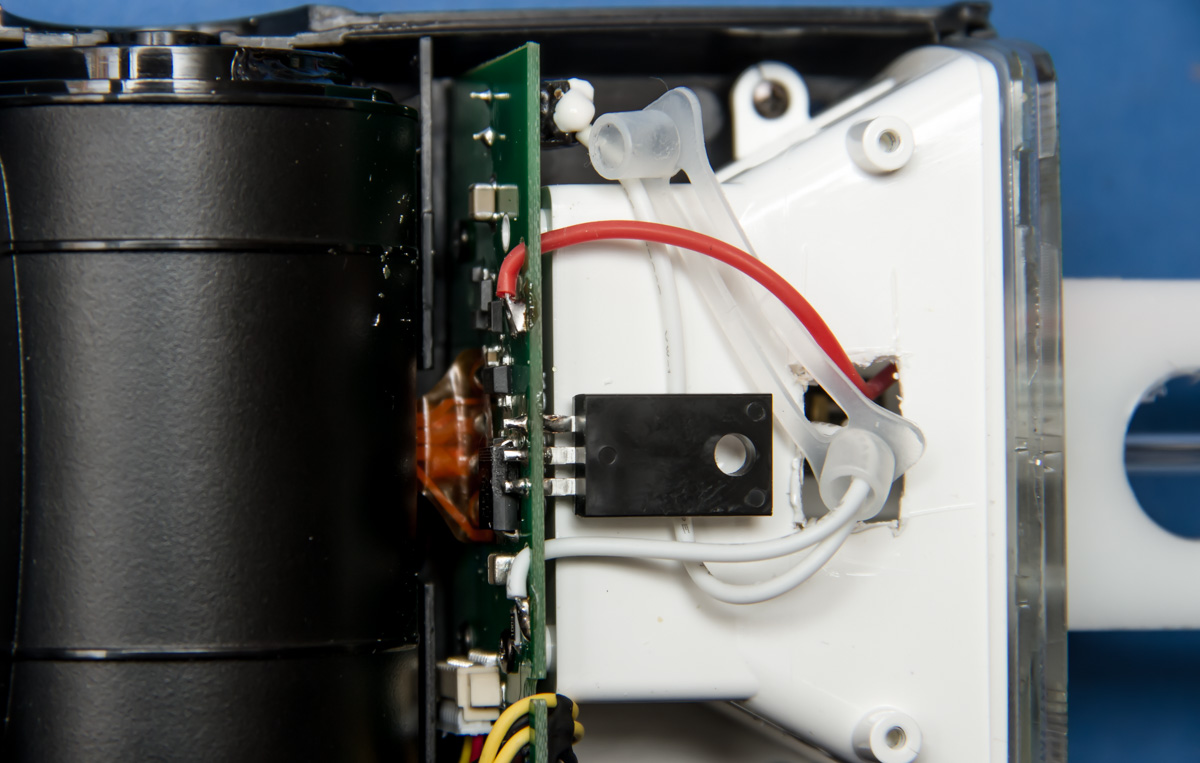
.... which is soldered to the control board in the place of the separate cable.
The housing halves are reassembled, screwed together, the clips inserted and the covers glued on.
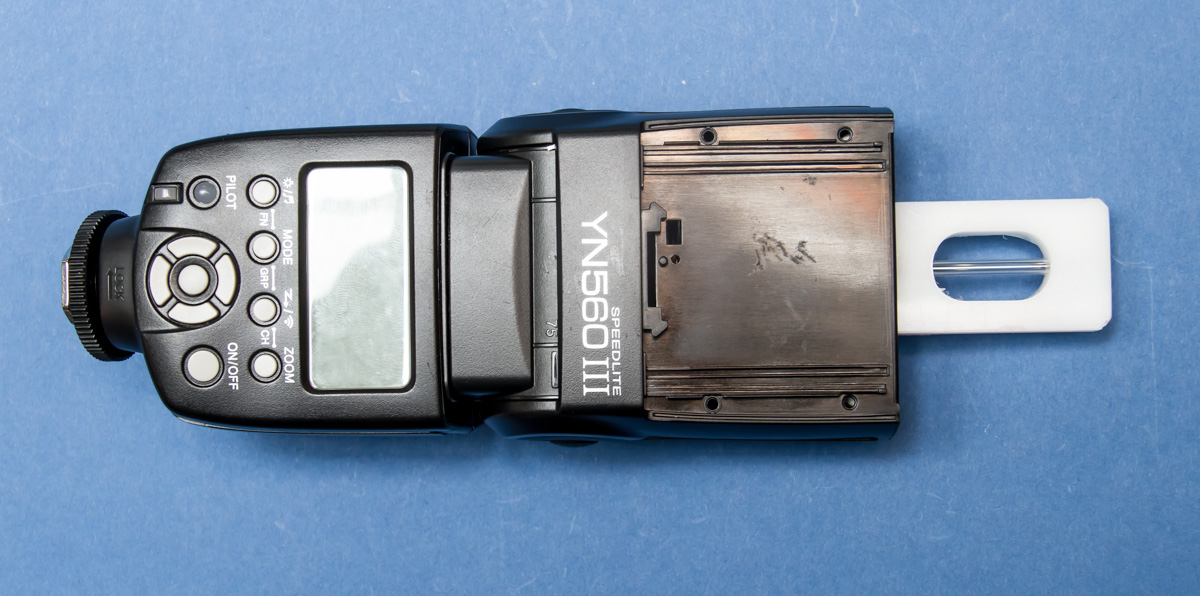
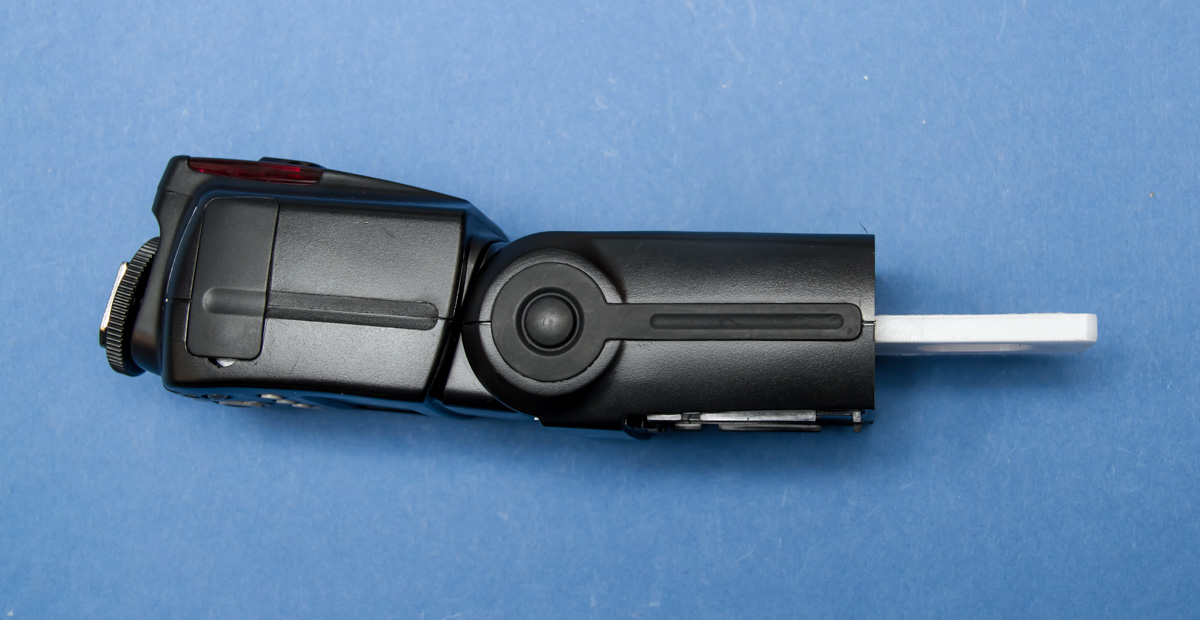
The flash is now ready to be plugged into the double collector.
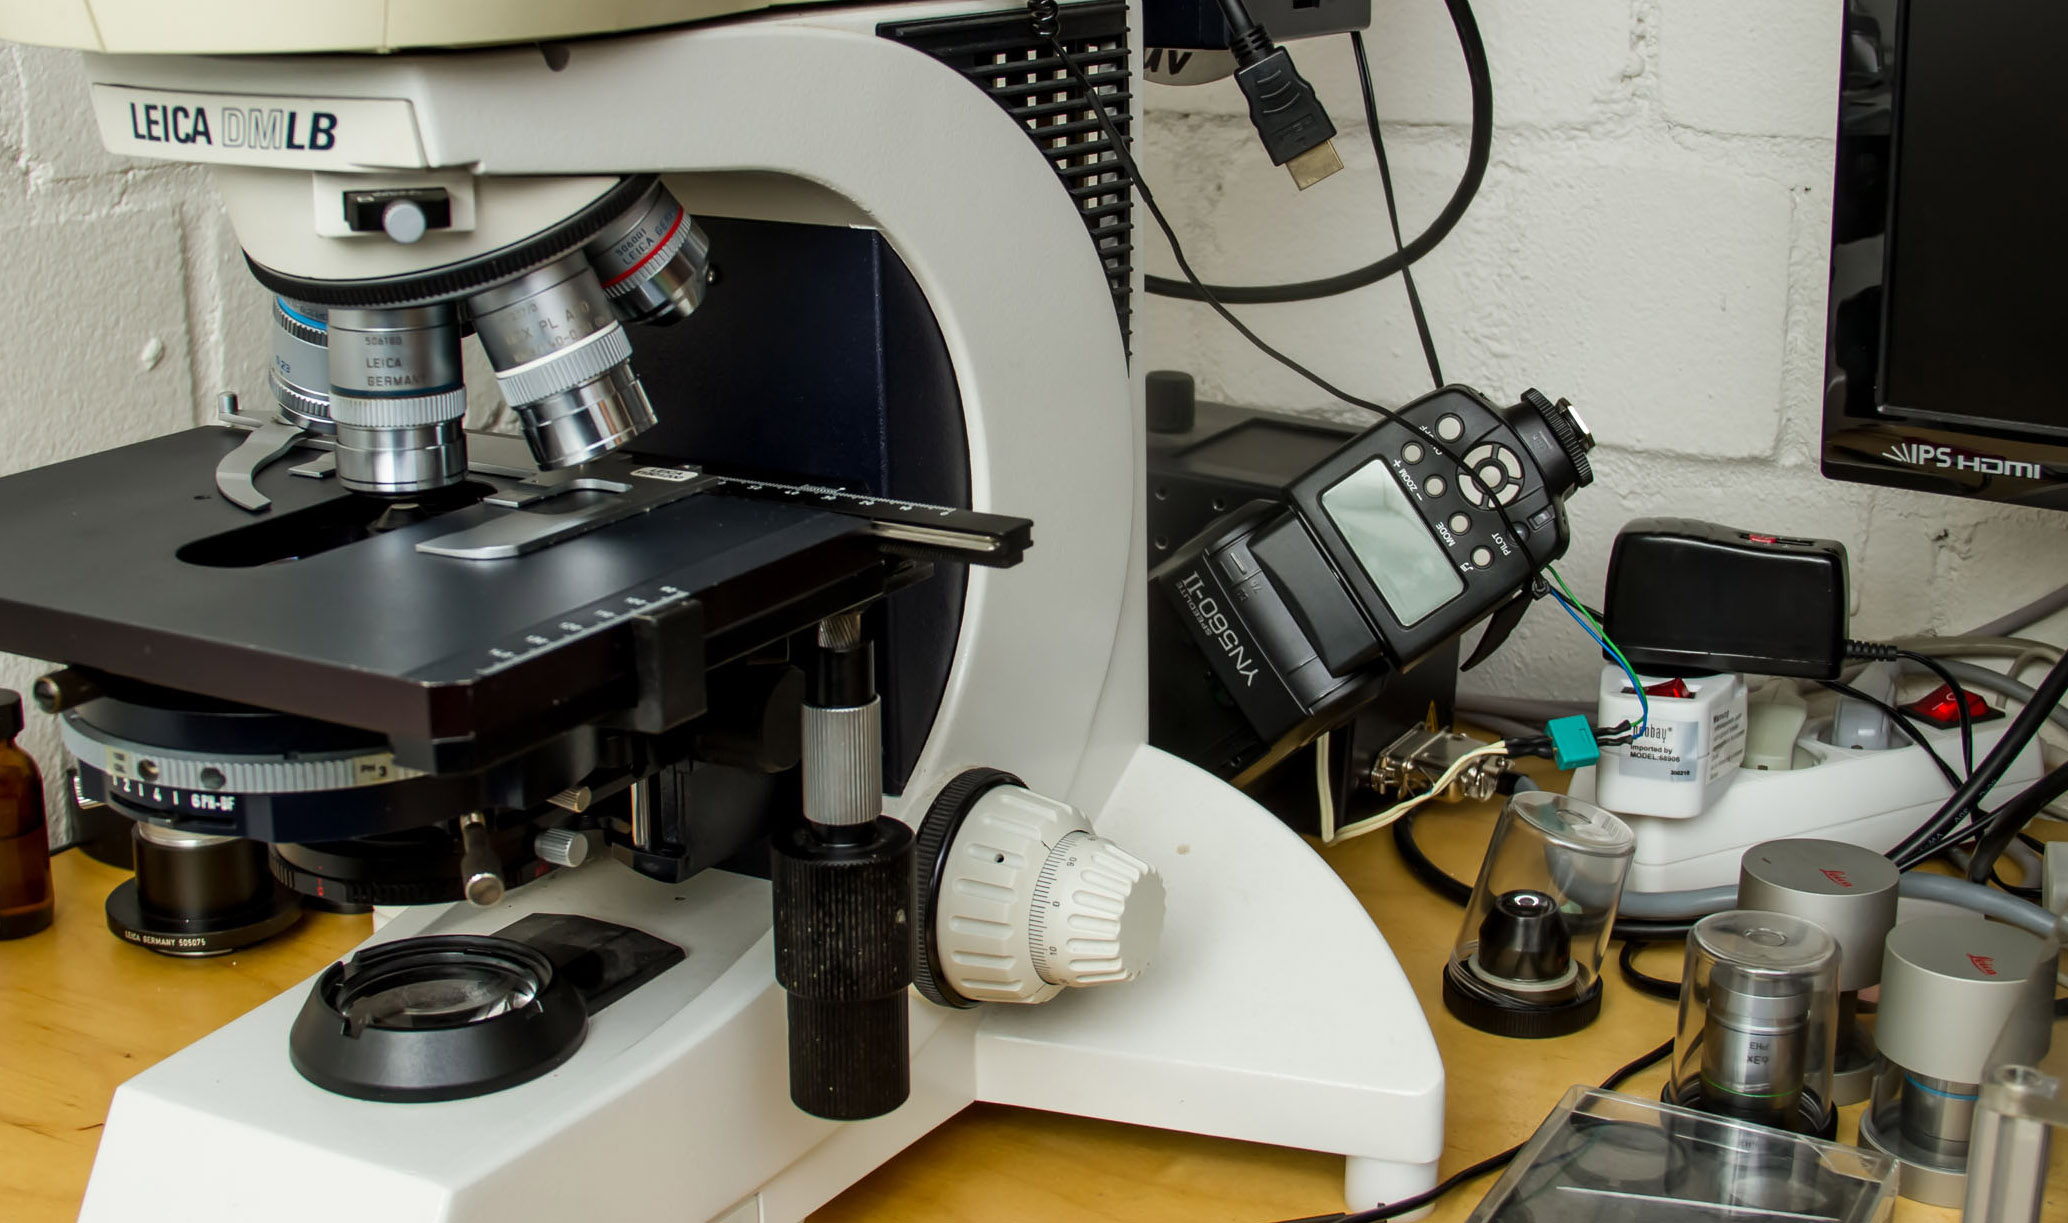
Here you can see the flash installed in a double collector according to Stahlschmidt on a Leica microscope. The flash (here a YN 560 II) is easy to reach in order to adjust the power.